Here’s a complete walkthrough on how to beat the final boss, Otherworld Maria/Mary, in the Silent Hill 2 Remake.
In Silent Hill 2 Remake, after defeating the Pyramid Heads in the intense arena battle, you’ll enter a corridor where Mary’s haunting monologue echoes through the space. This moment is a pivotal lead-up to the final boss encounter, setting the stage for important decisions that determine which ending you’ll receive.
No matter the choices you make in Silent Hill 2 Remake, you’ll inevitably face the final boss: Otherworld Maria/Mary. This confrontation is challenging, especially if you don’t pay attention to her attack patterns. In this article, we’ll guide you step-by-step on how to beat the Maria/Mary boss in Silent Hill 2 Remake.
Table of Contents
How to Beat The Final Boss in Silent Hill 2 RemakeFirst Phase BattleSecond Phase BattleFinal Phase BattleTips and Strategies for the Final Phase
How to Beat The Final Boss in Silent Hill 2 Remake
The final boss in the Silent Hill 2 Remake unfolds 3 distinct phases, each with unique attack patterns that you’ll need to watch out for. But before heading to the battle, make sure to equip yourself with enough ammo, healthy drinks, syringes, and the three key firearms: Handgun, Shotgun, and Hunting Rifle.
First Phase Battle
Click to Expand
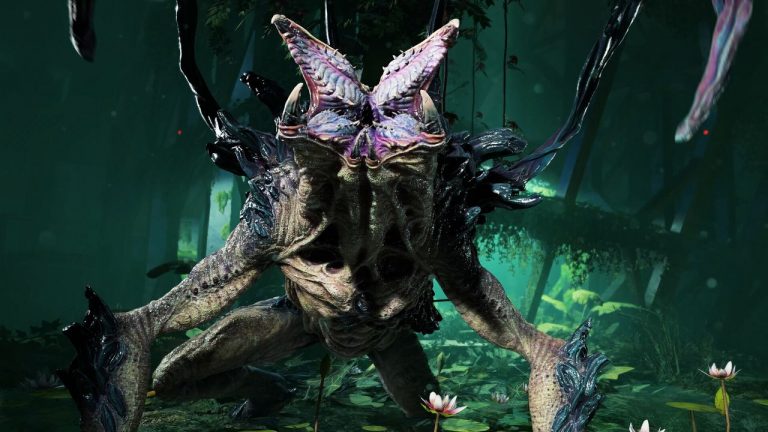
In the first battle phase, the boss is noticeably faster than the other monsters you’ve encountered before. Maria/Mary also releases a Swarm that will constantly follow you throughout the combat. Using the Handgun is recommended since it’s faster and easier to aim with.
Here’s the first phase attack pattern and how to counter it:
Swarm – Maria/Mary summons a Swarm that will continuously harass you. To avoid taking damage, keep your distance, especially when it starts glowing red. This usually indicates it’s about to launch a projectile. Dodge when the projectile is released.
Tendril – Maria/Mary will close her distance to strike a Tendril attack, usually a two-set combo. Dodge and keep your distance. You can take a clear shot after her attack.
Teleport – Maria/Mary turns into a Swarm and reappears somewhere else. Keep your distance and take a shot once she manifests.
Wail – Maria/Mary lets out a shriek that doesn’t cause damage but will interrupt your attack.
The strategy cycle is to keep your distance, mind the Swarm, dodge projectile and tendril, and take a shot whenever possible. You can use a Hunting Rifle for bigger damage if you’re confident with your accuracy and dodging skills.
Second Phase Battle
Click to Expand
Once you’ve inflicted enough damage on Maria/Mary, she will break the floor underneath you, dropping you into a dark corridor. This marks the second phase of the battle.
During this phase, Maria/Mary retreats into the ceiling, crawling around as she waits for the perfect moment to strike. Meanwhile, the Swarm will continue to harass you. The darkness works to your advantage here, making it easier to distinguish between the Swarm’s glowing red indication for an imminent projectile and the boss Maria/Mary preparing to launch an attack.
Here’s the strategy for the second phase battle:
Swarm: Keep looking around you. Once you see red in the darkness, prepare for the projectile, then dodge.
Boss Attack – You can easily tell where Maria/Mary will drop from the ceiling for a tendril attack. Once you see Sparks coming from the ceiling, it indicates that the boss will drop on that spot. Dodge and keep a distance before shooting.
Use Shotgun – Since it is a close-quarter combat. When Maria/Mary is within range, unload a full blast to deal significant damage. In most cases, she will retreat back to the ceiling after taking a full shift.
There’s a handful of ammo lying around the dark corridor. Pick them up during the battle in preparation for the final phase.
Final Phase Battle
Click to Expand
In the final phase, you’ll find plenty of ammo and health drinks scattered around, but trying to collect them is risky. Maria/Mary becomes much more aggressive in this last bout and will stay close to strike attacks. If you try to create a distance, she’ll often leap towards you, which is difficult to dodge most of the time.
Here’s the strategy for the final phase battle:
Stay Close and Dodge – Staying near the final boss forces her to use limb strikes, which are easier to anticipate and dodge. Be aware that she may attack twice in quick succession, so be prepared to dodge twice if needed. Take a shot after her attacks.
Leap Attack – There’s an instance where she will teleport away to summon a Swarm. Take this opportunity to take a shot, then anticipate a leap attack.
Swarm – The Swarm usually attacks once before disappearing. As usual, dodge the projectile after it glows red.
Limb Slam – If you’re in mid-range, there’s a chance the final boss will slam both of its limbs forward. Expect her to slam twice, then take a shot.
Wail – The final boss lets out a piercing shriek, stunning you temporarily. Prepare for a leap attack right after you recover.
Tips and Strategies for the Final Phase
Here are some additional tips and strategies to beat the final boss:
Make the most of your arsenal during this final phase! Use your best weapon and all remaining ammunition.
Since this is the last battle, go all out.
For close combat, rely on the Shotgun and switch to the Hunting Rifle when she creates distance.
Stay patient and anticipate her attack patterns.
Dodging in this phase is the key to surviving and winning.
READ NEXT: Do You Need to Play Silent Hill 1 Before Silent Hill 2?
